Background
The PcDuino8 Uno is the latest toy I have developed a passionate interest in (whether that is a healthy interest or not remains to be seen). What exactly is the PcDuino8 Uno? You may have heard of the Raspberry Pi, maybe even Beaglebone, or CubieBoard or even Arduino? All of these funky sounding things are tiny computers you can fit in your pocket (probably not a good idea to do that without some kind of plastic shield for fear of electrostaic damage or accidentally ripping one of the tiny components off).
These micro computers have become all the rage (much like Drones) in the last few years with buckets of companies creating their own versions of these micro machines, The great pull towards these small devices is their function which is a mixture of connectivity, community support and the ability to teach and learn to program robotics and electronics from the basics right up to high profile systems.
The PcDuino is basically a mini computer which can run a full operating system such as Ubuntu or android and also has physical headers that are compatible with Arduino which alongside the raspberry pi is highly popular and well documented throughout the community. A regular Arduino requires that you connect a PC to it, compile the code instructions you want it to execute and load it onto the device. With PcDuino you can have Ubuntu installed, connect it to a monitor, mouse and keyboard and do the development directly on the device and run at the same time.
Hardware
PcDuino is a series of development boards created by LinkSprite. Even though they are not as well documented or widespread as the Pi or Arduino the boards themselves boast great features at a fair price. For instance the PcDuino8 Uno ($39 from Amazon when i got it) which i will be working with has the following features:
- AllWinner H8 8-Core Cortex-A7 @ 2.0GHz
- Power VR SG544 @720MHz
- DDR3 1GB RAM
- microSD card slot for up to 32GB
- HDMI 1.4 with HDCP support
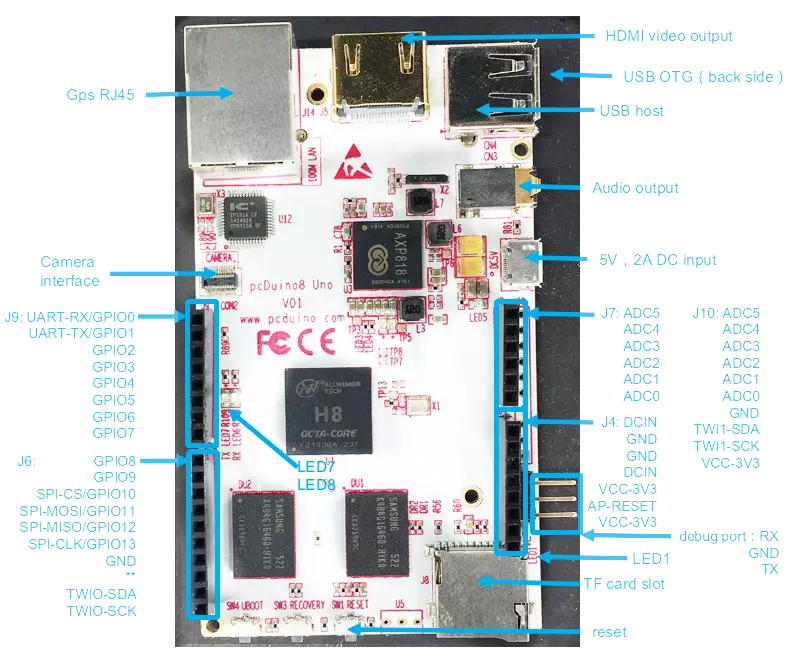
- Arduino sockets, same as Arduino Uno (14x GPIO, 2xPWM, 1x UART, 1x SPI 1x I2C) 6xADC (extra module needed to provide ADC)
- 1 x USB Host, 1 x USB OTG
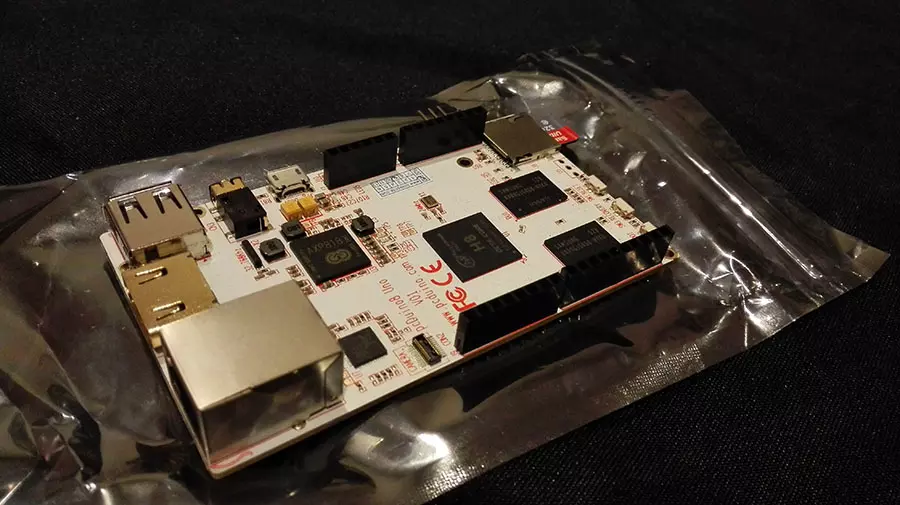
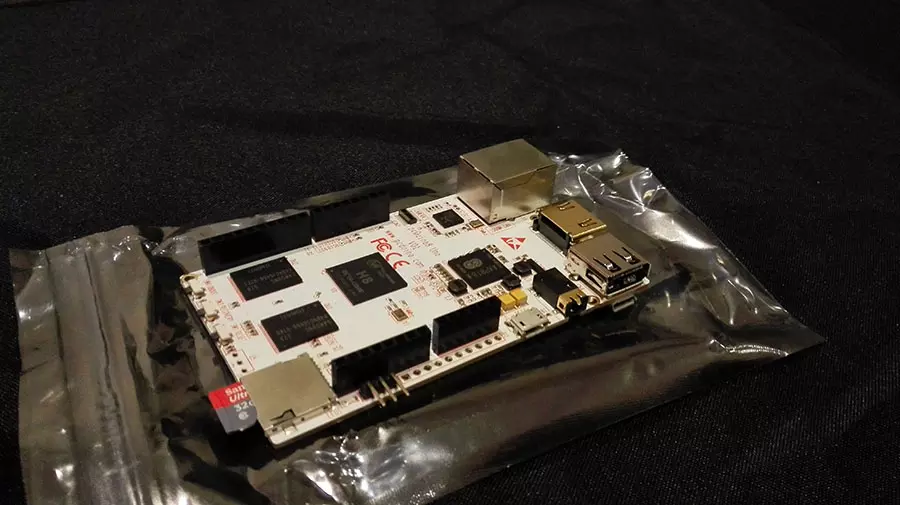
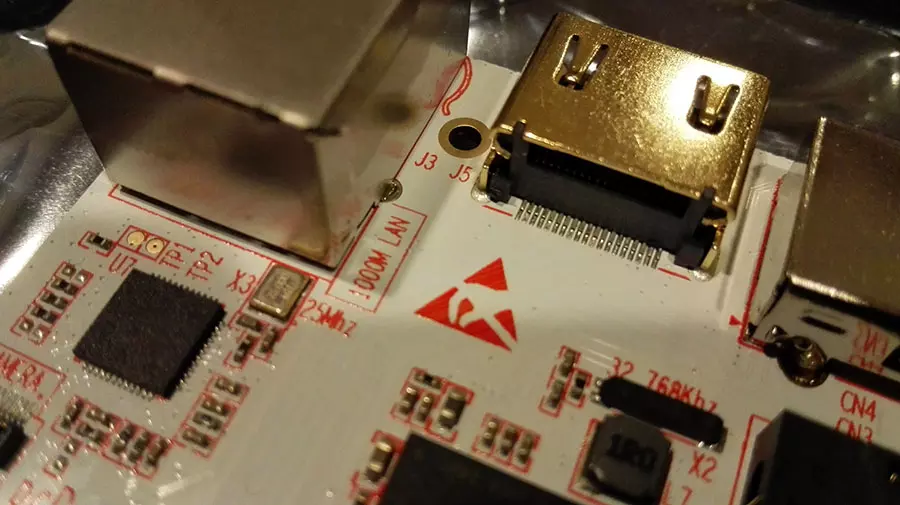
This is the board itself
Goal
What I was hoping to achieve with this development board was to harness all the processing power available on the device to display a real-time UI with perhaps NodeJS and WebGL or at the very least a natively compiled OpenGL application.
I will initially be using the latest Ubuntu image provided by linksprite for this board since this will be the easiest place for me to get started with development and programming. This image can be found here. You can find alternative images on this page.
At the very least I want to get this board setup in such a way that it can easily run kodi, perhaps as an emulator for old games. I would be disappointed if I didn’t manage to achieve of of these.
I will blog about my findings and achievements (if any) from time to time so that others can try to make their own slice of awesome using these mini power houses and hopefully avoid the pitfalls that can arise with embedded software development.
Setup
Writing the Operating system to a micro SD card
I make the assumption that you are using Windows, Linux Users should be advanced enough already to know how to do this using dd (otherwise why are you using Linux?).
We need to download Win32DiskImager to write the Ubuntu image you downloaded from Linksprite to the micro SD Card.
- Insert the Micro SD Card into your PC , you will probably need a micro SD to SD card adapter.
- Start Win32DiskImager
- Select the micro SD card (Make a sure you select the right device!)
- Select the image you downloaded
- Select Write and wait for it to complete
Caution
One note of caution before you start handling your device!
The first device i purchased died i suspect from electrostatic damage (or accidental over voltage when i plugged in both the OTG and regular USB 5V power supply).
Be sure to ground yourself before handling the device. You can do this by either using fancy equipment that you attach to your wrist and then to a grounding source, but i think that may be overkill in this situation. It should suffice if you touch a metal object that is grounded, such as a tap (fossett) or radiator all of which should be grounded or earthed.
When it comes to touching the device do your best not to touch the board PCB but rather the edges and even better the plastic Arduino headers should provide enough grip to hold onto the device when you plug and unplug cables. If you are familiar with the installation procedure for RAM on a PC you should be fine, otherwise look it up!
That is why we see this symbol:
Startup
- You can now place the micro SD card into the PcDuino8 Uno.
- Connect a standard USB to Micro USB (The Cable you use to charge your standard Android phone).
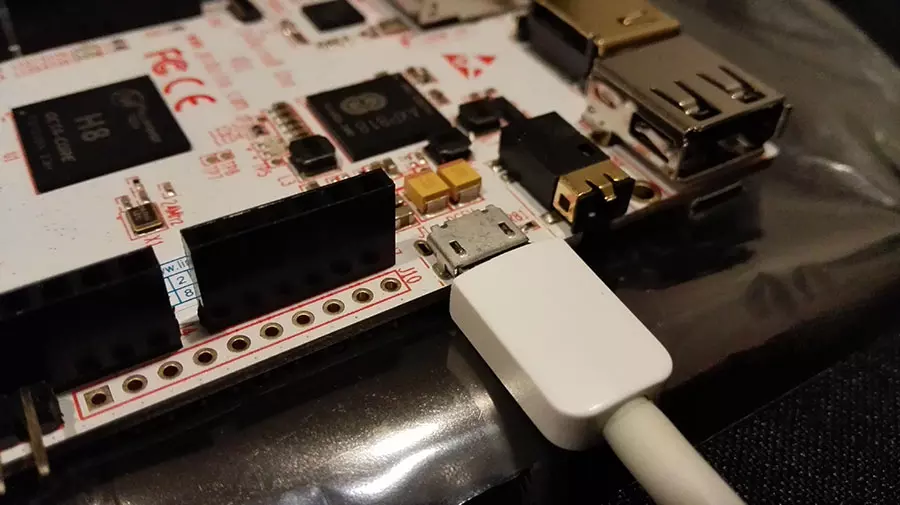
- First off, connect the micro USB end into the 5V 2A USB slot on the top side of the board.
- You will need an HDMI cable to connect the board to a monitor or TV to see any kind of output.
- Then to turn on the board you simply need to provide it with power which you can do by plugging the USB to micro USB card into a PC or your standard wall socket USB adapter to charge your phone, basically any USB slot that provides 5V @ 2amp which should really be every USB device, hence the standard.
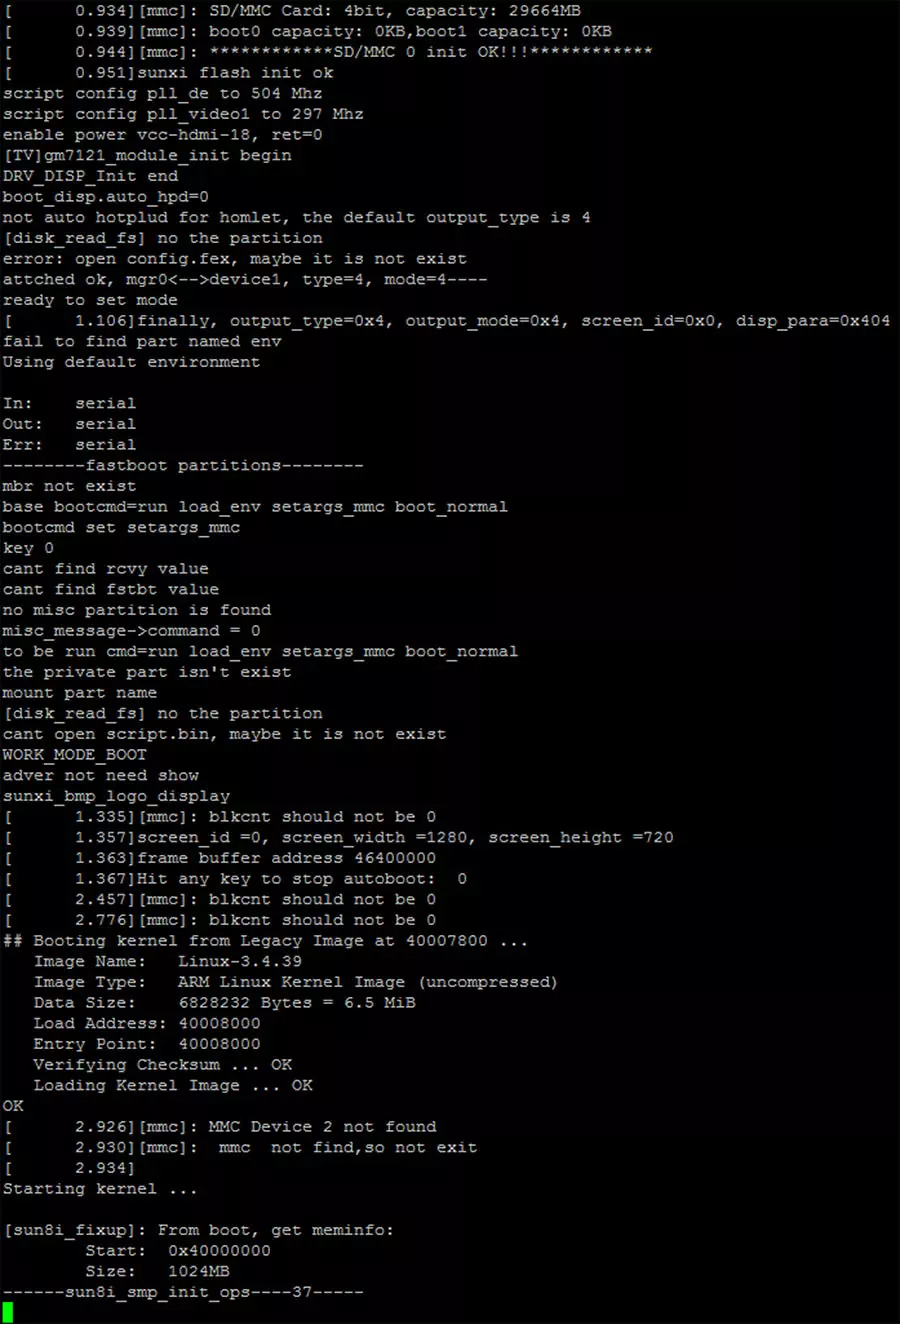
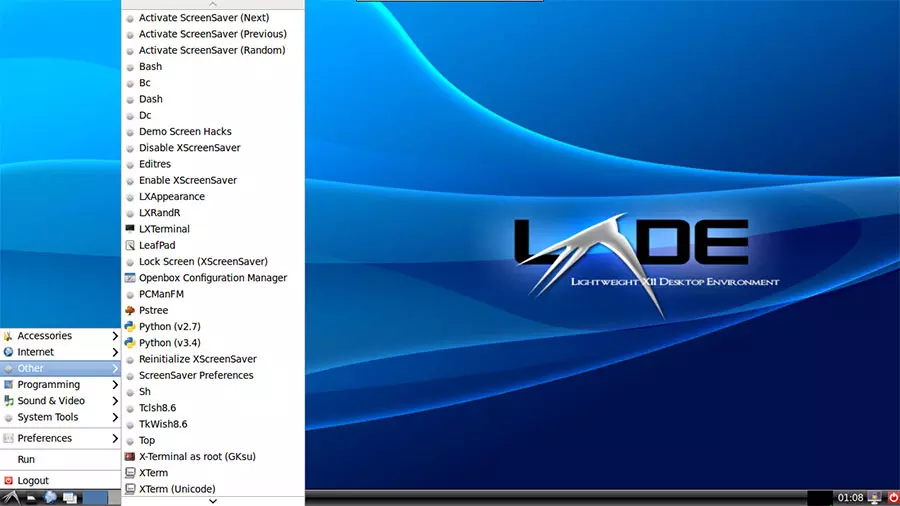
- If everything went well we should see on the monitor Console messages and eventually the linaro desktop environment.
That’s all for now folks, In the next Post I will cover connecting to the device through the Serial Debug port and why it might throw some people off initially (it did for me..)
Have Fun Tinkering!
References
These are some places that may come in handy for you when getting started with this board.